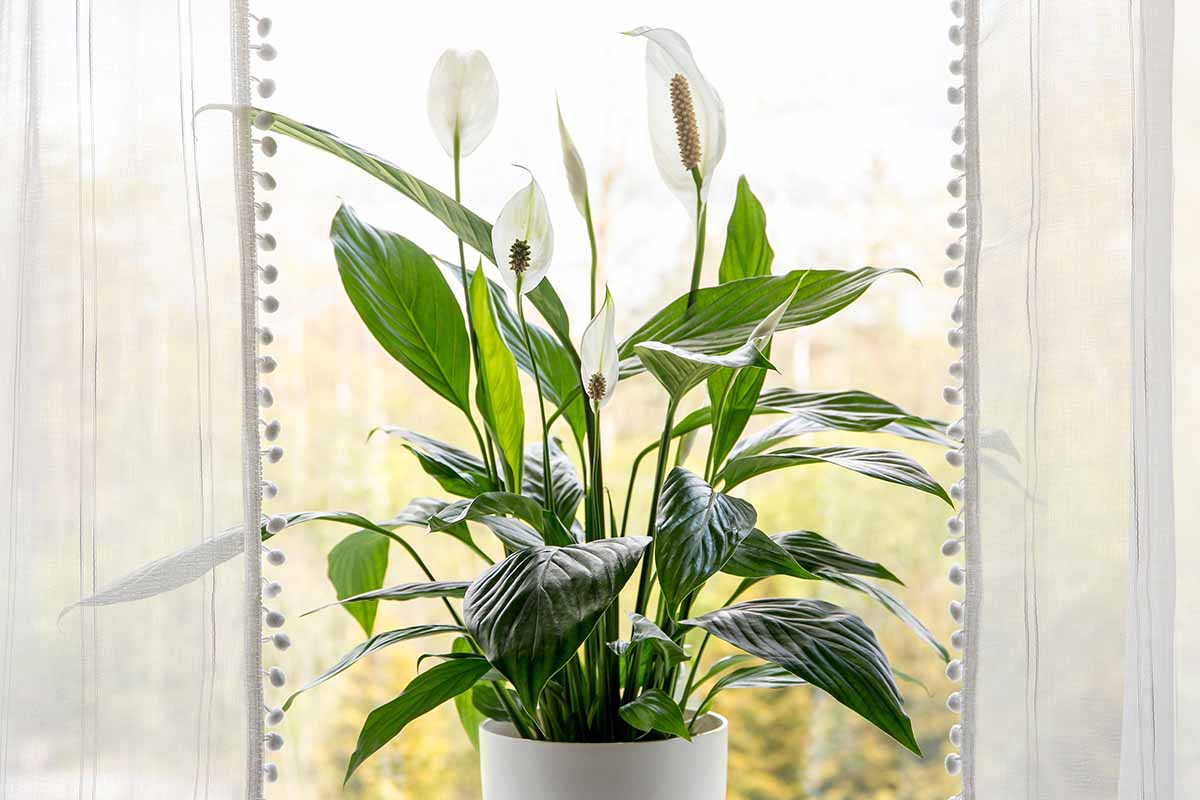
Peace Lilies (Spathiphyllum) are beautiful, low-maintenance houseplants known for their lush green leaves and elegant white blooms. But despite their reputation for being easy to care for, improper watering is one of the most common reasons Peace Lilies struggle. If you’ve ever seen drooping leaves, brown tips, or yellowing foliage, chances are your watering routine needs a little tweaking.
Let’s walk through the right way to water your Peace Lily—and stop making the mistakes that could harm it.
1. Understand Your Plant’s Watering Needs
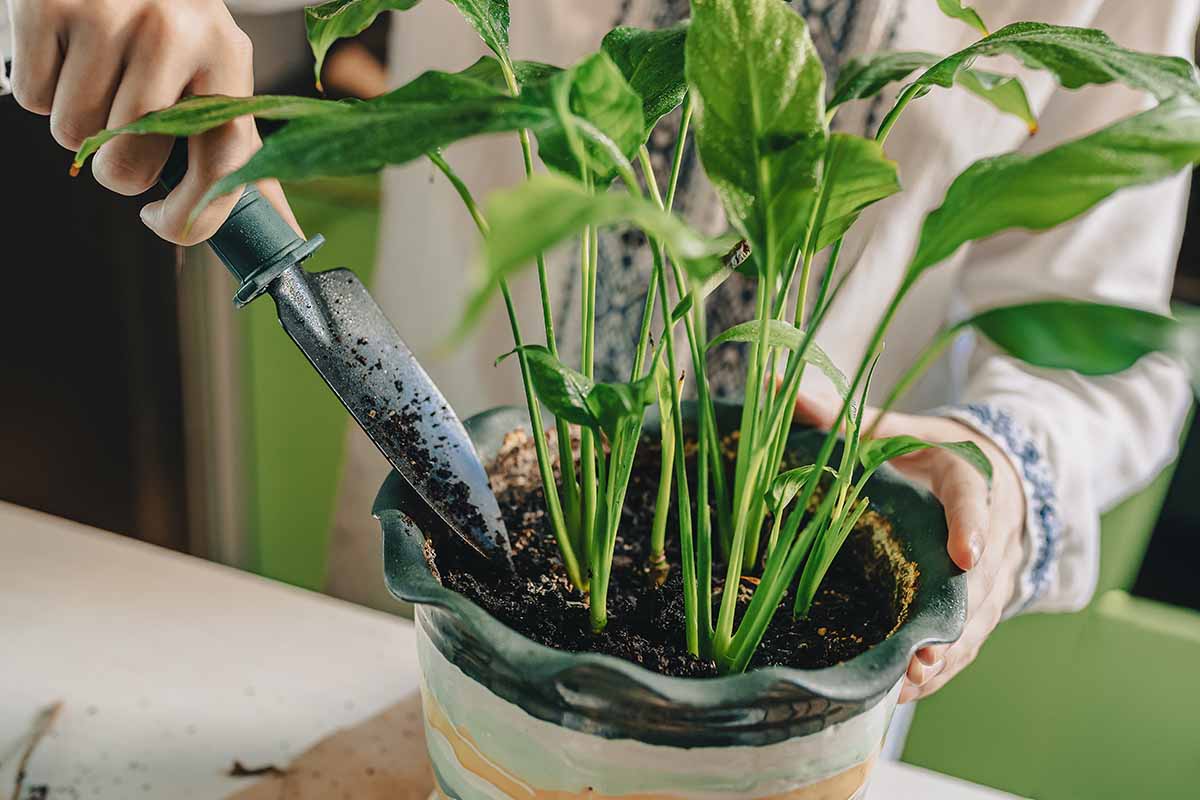
Peace Lilies originate from tropical rainforests, where they grow in the humid, shaded understory. They like moist soil, but not soggy conditions. That means watering too much or too frequently can be just as harmful as underwatering.
A good rule of thumb? Let the top inch of soil dry out before watering again. Sticking your finger into the soil is the easiest way to test—if it feels dry to the touch, it’s time to water.
2. Don’t Stick to a Strict Schedule
Many people fall into the habit of watering their Peace Lily on a set schedule—like every 3 or 4 days. But factors like room temperature, humidity, and light exposure all affect how fast the soil dries. Instead of watering by the calendar, water based on what your plant actually needs.
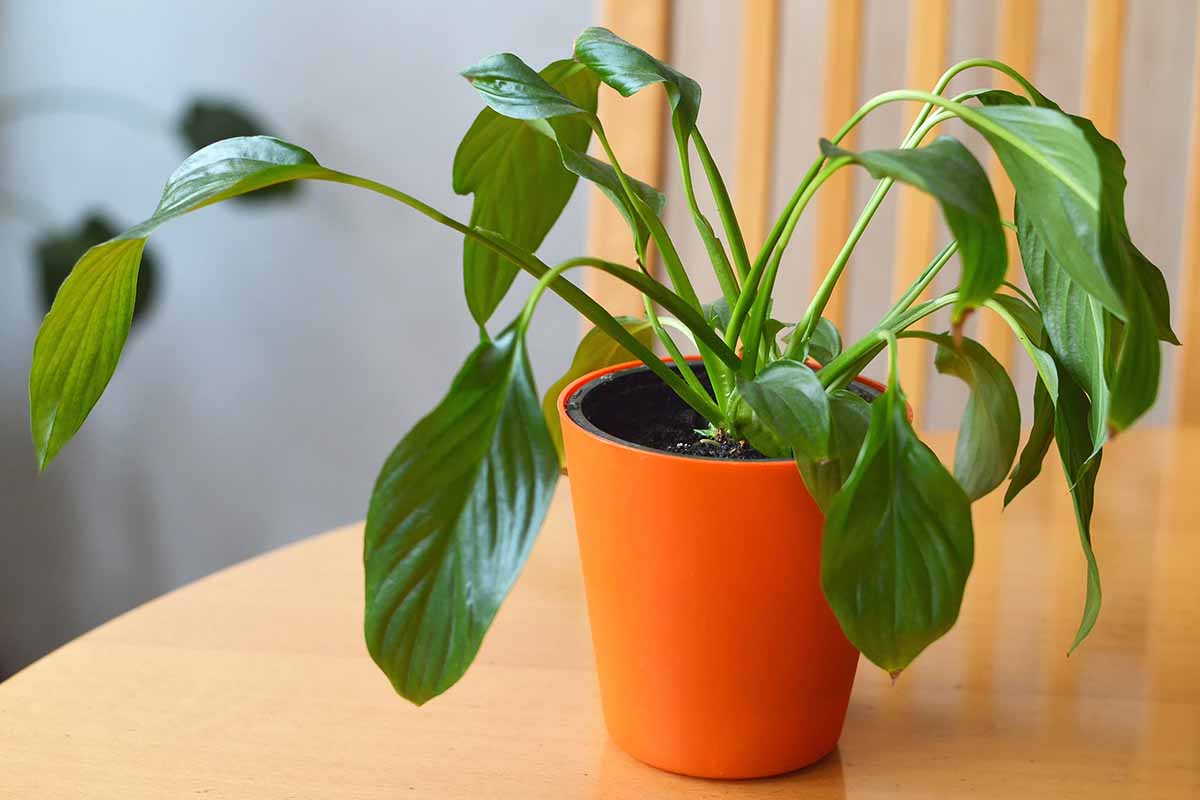
Observe your plant. Peace Lilies will naturally start to droop when they need water—this is their way of communicating. Once you see the leaves sagging, water thoroughly, and you’ll see them perk up within hours.
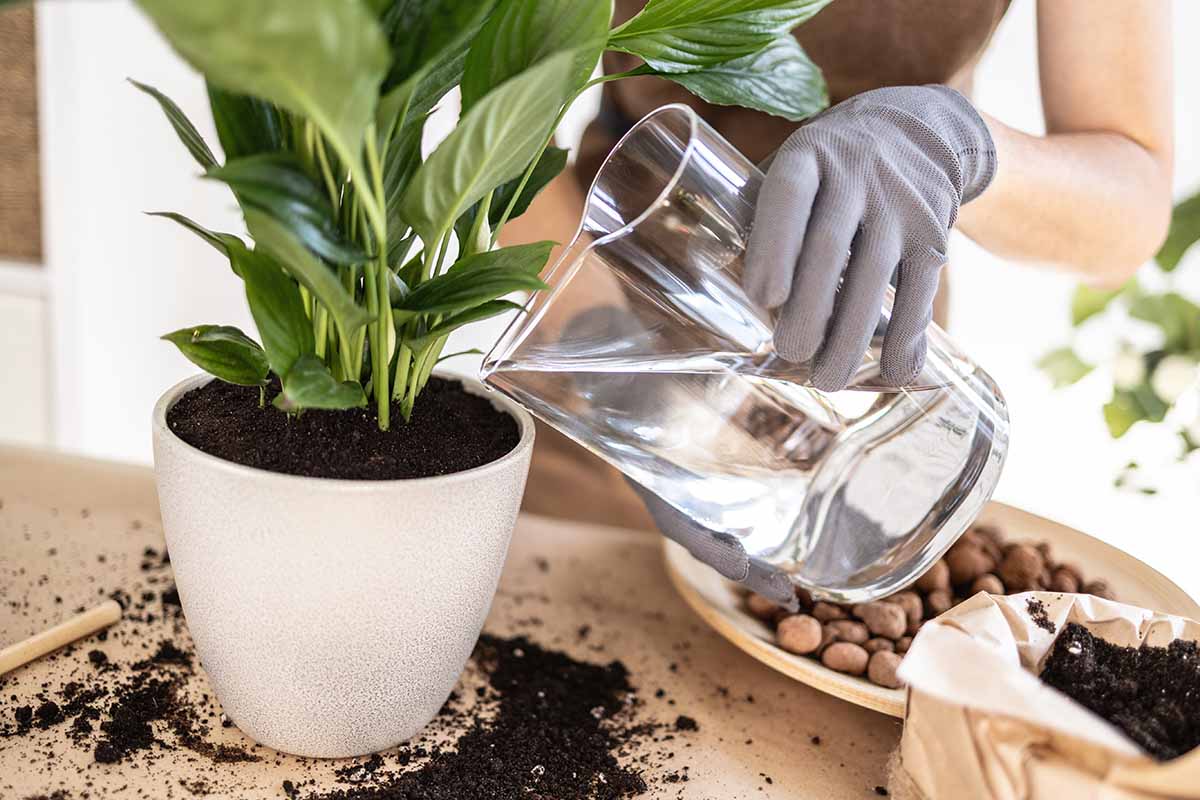
3. Water Thoroughly, Then Drain
When you water your Peace Lily, do it deeply—until water drains out of the bottom of the pot. This ensures the roots are fully hydrated. However, never let your plant sit in standing water. If your pot has a saucer, empty it out about 15–30 minutes after watering. Prolonged exposure to excess water can lead to root rot, a common killer of Peace Lilies.
4. Use Room Temperature Water
Cold water can shock the roots, especially in colder months. Use room temperature or lukewarm water to keep your plant comfortable. If possible, let the water sit overnight to allow chlorine and other chemicals to dissipate—this is especially helpful if you’re using tap water.
5. Adjust for the Seasons
In the growing season (spring and summer), your Peace Lily will likely need more frequent watering due to higher temperatures and active growth. In contrast, during fall and winter, growth slows, and the soil stays moist longer. Be sure to adjust your watering routine accordingly.
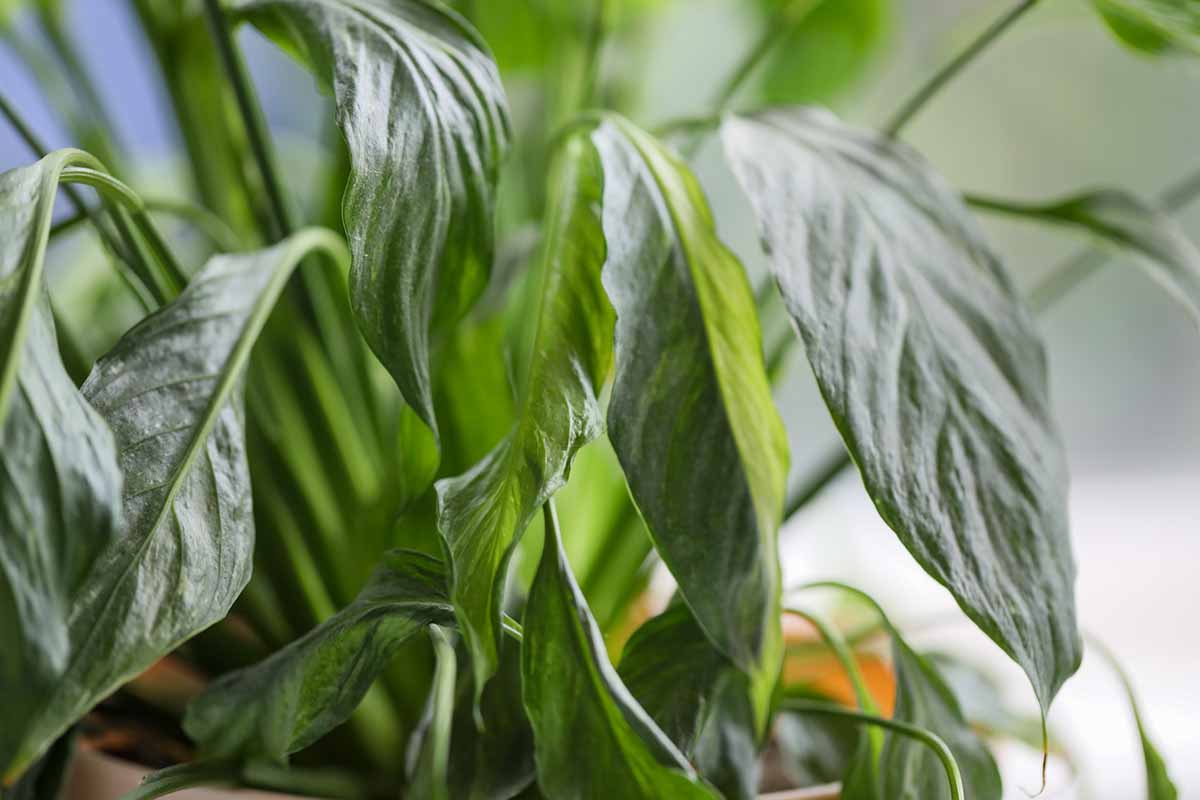
6. Bonus Tip: Watch the Leaves
- Drooping leaves? Often means the plant is thirsty.
- Yellowing leaves? Likely a sign of overwatering.
- Brown tips? May indicate low humidity or salt buildup in the soil.
Final Thoughts
By listening to your plant, checking the soil moisture regularly, and adjusting your watering technique, you can easily keep your Peace Lily happy and healthy. It’s not about watering more or less—it’s about watering wisely. And once you master that, you’ll enjoy a beautiful, vibrant Peace Lily all year round.
Let me know if you’d like this turned into a visual care guide or social media caption! 🌿✨