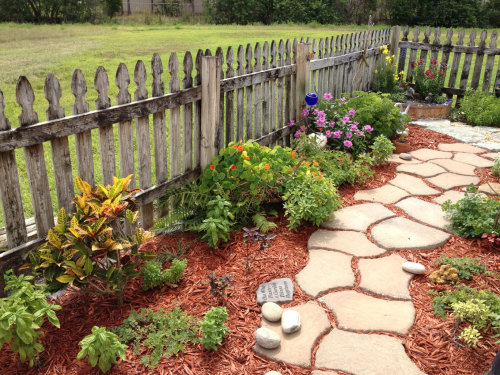
Here’s a polished and more attractive version of your DIY bucket garden guide — perfect for a blog post or social media caption:
🌿 DIY Bucket Garden: Grow More in Less Space! 🌿
Want a thriving garden but short on space or budget? A DIY tiered bucket garden is your perfect solution. It’s budget-friendly, beginner-friendly, and absolutely ideal for balconies, patios, or tiny backyards.
Why I Love This Setup
After trying countless gardening styles, this has been one of the easiest and most rewarding systems to maintain. Here’s how to build your own:
🛠️ Step 1: Gather Your Supplies
- 12 x 5-gallon buckets
- 2×4 or 2×6 lumber
- Screws (2.5–3 inches), drill, and drill bits
- Saw, level, and optional sanding tool
✂️ Step 2: Cut & Prep the Frame
- Cut 4 vertical legs (about 4 ft each)
- Cut 3 horizontal beams per tier (customized for your bucket width)
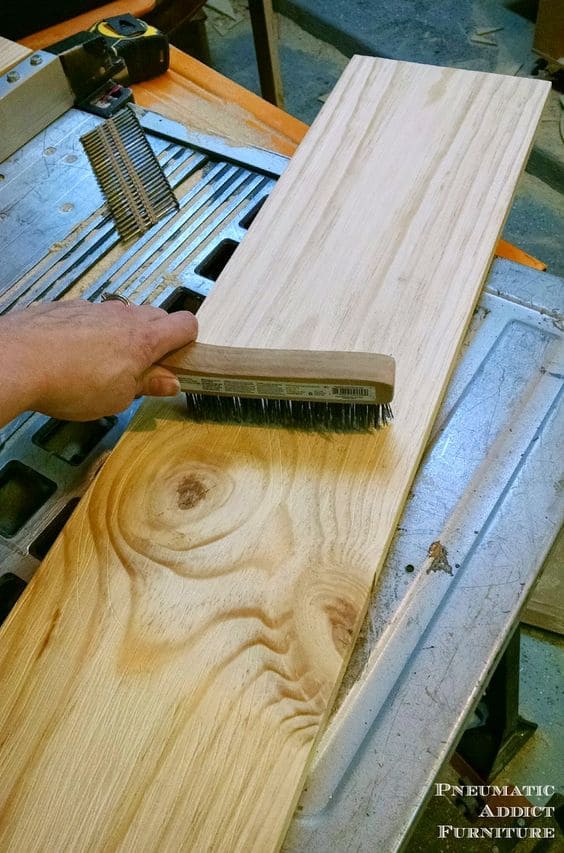
- Sand the edges for a smooth finish
- Pre-drill holes to prevent wood splitting
🧱 Step 3: Build the Frame
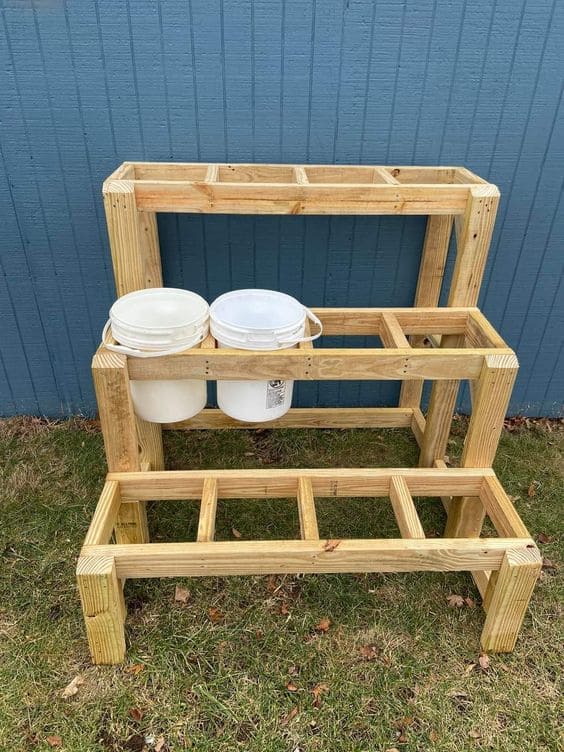
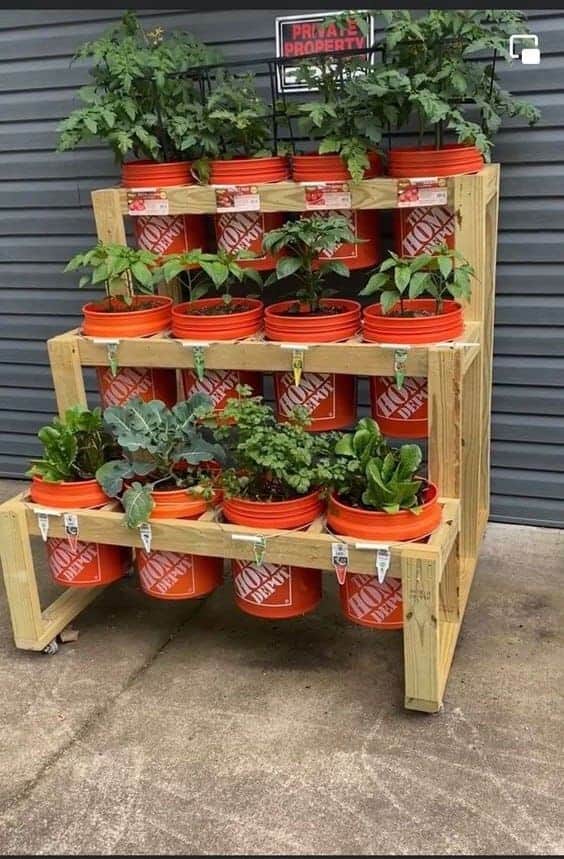
Start with the bottom tier, making sure it’s level. Add the next tiers 1–1.5 ft apart vertically. Add crossbars to support buckets securely.
🪣 Step 4: Prep the Buckets
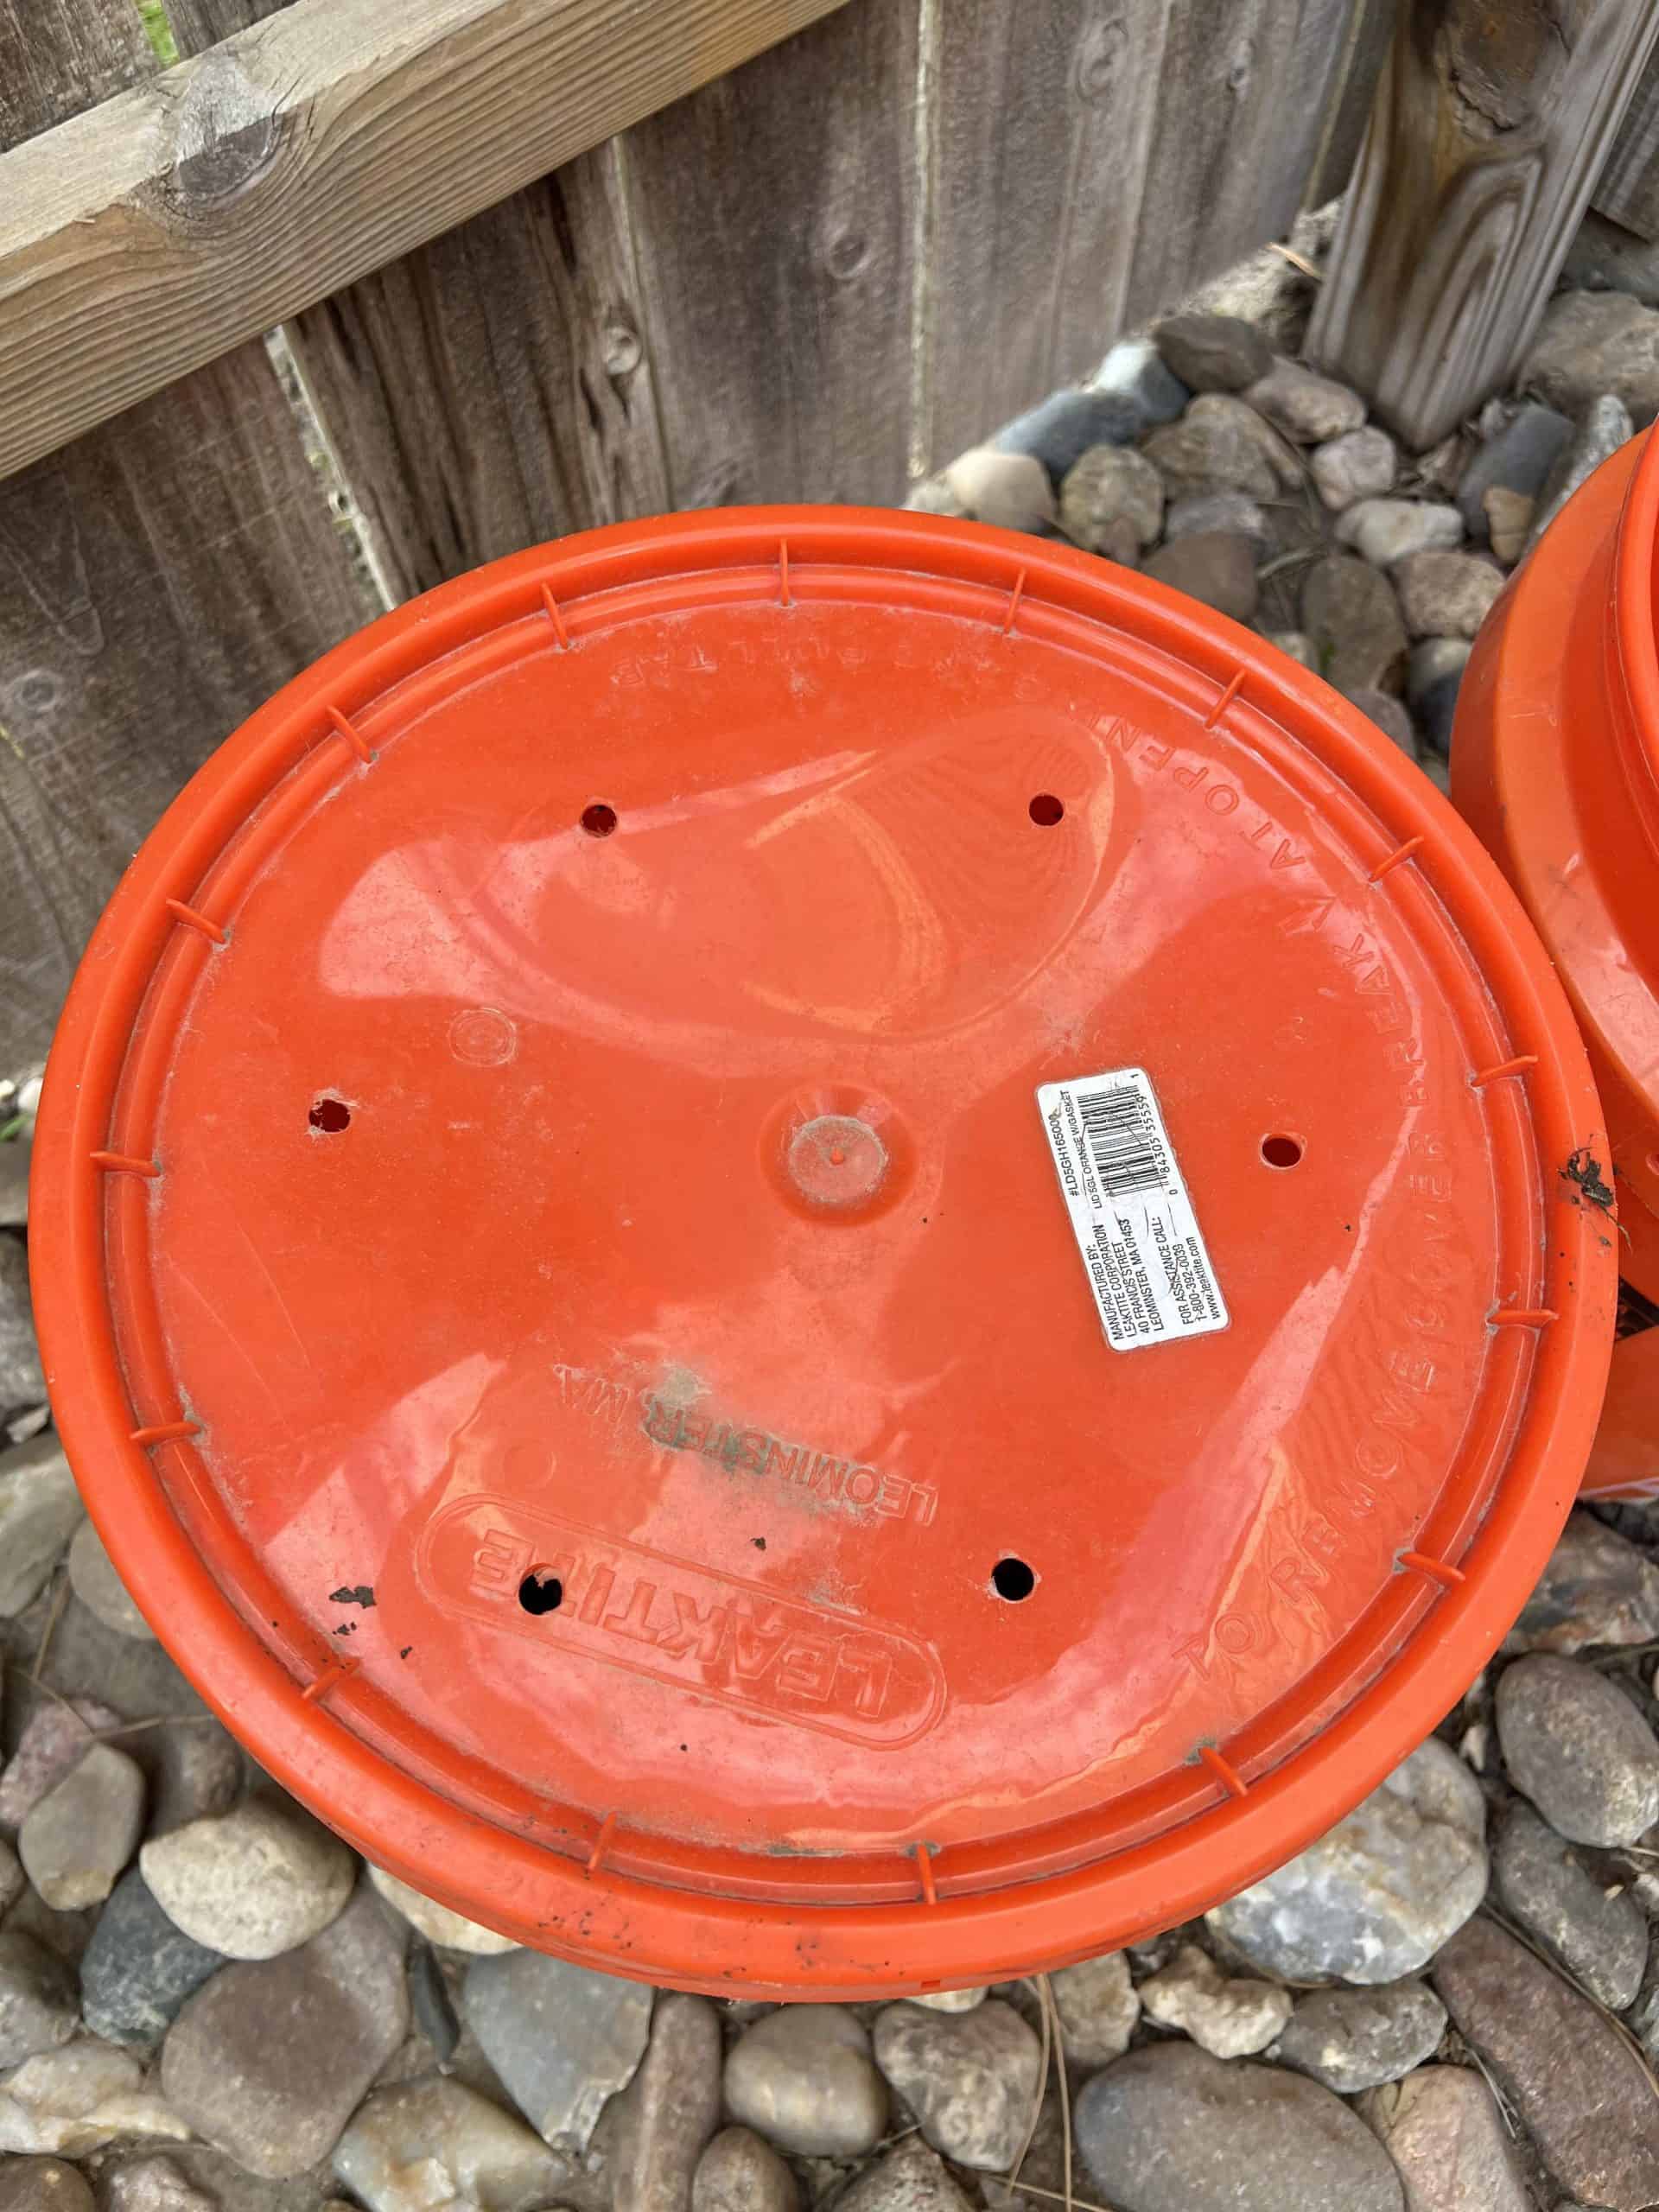
- Drill holes at the bottom (and sides, optionally) for drainage
- Add a gravel base to prevent soggy roots
- Fill with high-quality potting mix
🌱 Step 5: Plant & Arrange
Place taller plants on the top row, and shorter ones below to maximize sunlight. Water thoroughly and monitor drainage.
💡 Pro Tips for Success
- Rotate buckets weekly for even sun exposure
- Avoid overcrowding
- Check drainage often
- Use well-draining, nutrient-rich soil
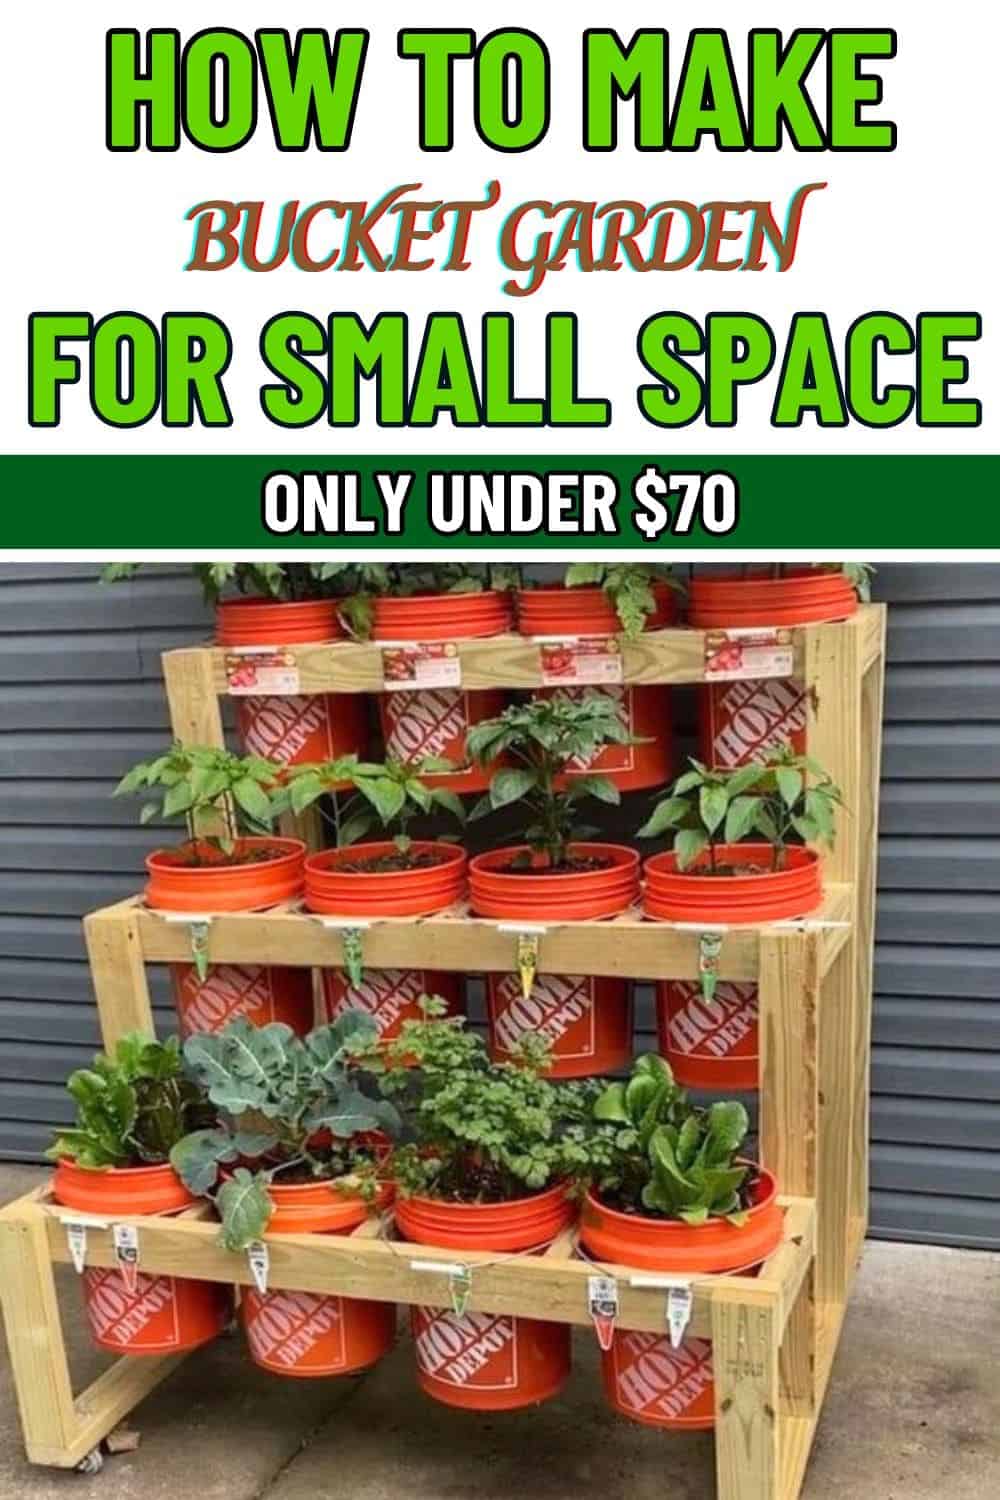
With just a few tools and a little effort, you can enjoy fresh herbs, veggies, and blooms right outside your door. Let your garden dreams grow—bucket by bucket! 🌼🪴
#DIYGarden #SmallSpaceGardening #ContainerGarden #BucketGarden #Homegrown
Would you like this formatted into a printable or shareable graphic?
